
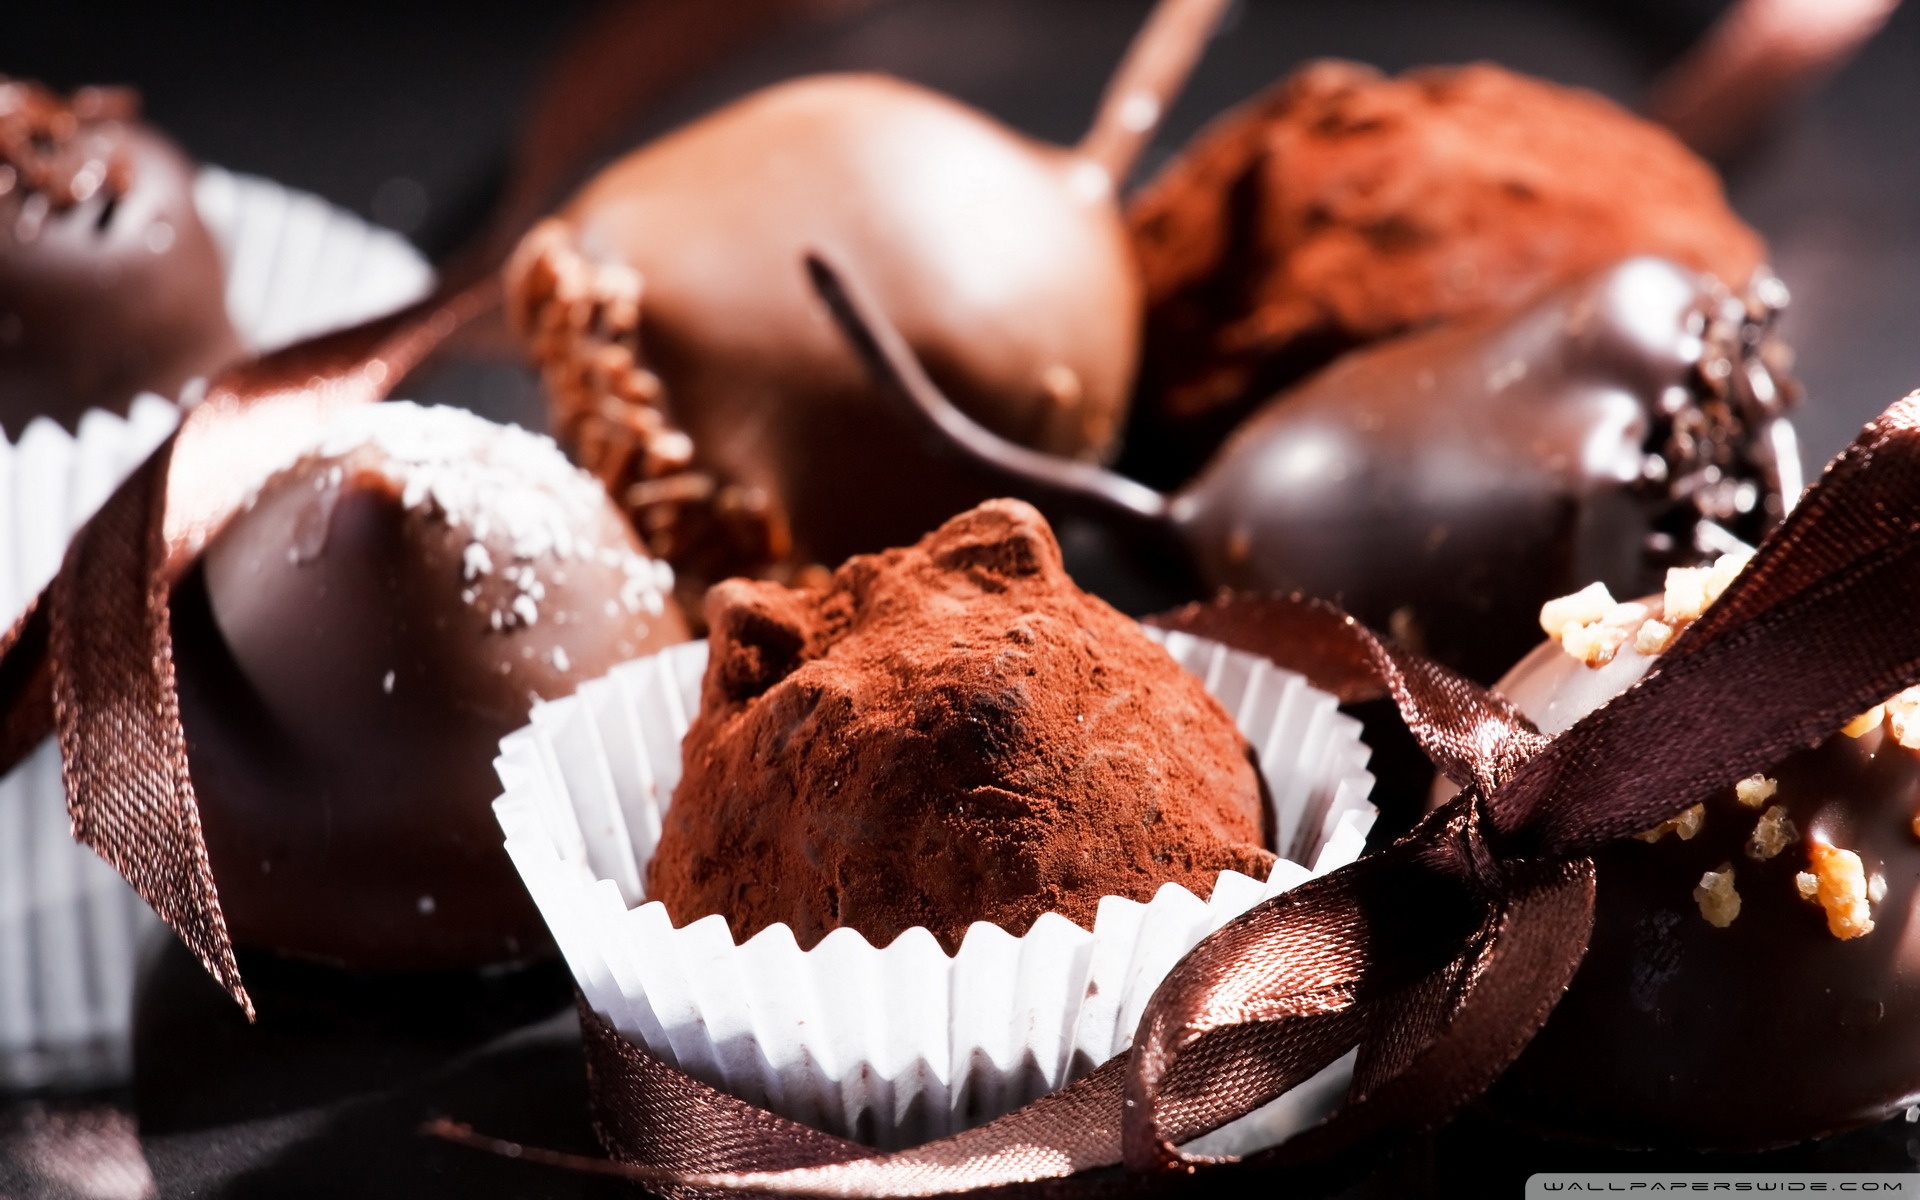
We love chocolate in all its forms, and this little treat features everybody’s favorite – the chocolate brownie. When dipped in fine chocolate, these become yummy bonbons.These delicious chocolate brownie bonbons elevate a rustic favorite into an elegant and fun party treat.
Chocolate Bonbons :-
Before you start, you’ll need popsicle sticks or skewers, about 4 cups or 1.5 lbs of milk, dark, and/or white confectioner`s coating for dipping and tiny bits of candy, sprinkles, shredded toasted coconut and crushed peanuts for decorating.
Ingredients :
1 cup butter
6 oz. unsweetened chocolate
2 cups white sugar, 2 eggs
1 cup all-purpose flour
1 tsp. vanilla extract
1/2 tsp. salt
Directions :

Preheat oven to 350°F. Grease a 9-inch square baking pan AND line with baking paper so that the ends come up slightly over the pan edges. (This will allow you to lift the brownies out of the pan, once they’ve cooled.)
Melt the chocolate in a double boiler or use a hot water bath. To do this, you will need a glass dish and a saucepan. Cut the chocolate into pieces of a uniform size. Fill a large saucepan about halfway with water and heat until just simmering. Place the chocolate in the glass dish, and place the dish in the water bath.
Be sure not to let any water get into the glass dish. Gently and constantly stir the chocolate with a rubber spatula or wooden spoon until completely melted. Always keep the heat low to avoid your chocolate becoming gritty (this happens very quickly!)
Melt butter and stir into chocolate mixture until completely combined. Stir in sugar. Set aside to cool for about 10 minutes. Beat in the eggs and vanilla extract. Combine the flour and salt. Stir into the chocolate mixture. Pour the batter into the greased and lined pan and bake in oven 40 to 45 minutes. Cool in the pan and then lift out with the help of the baking paper. Cut the outer crusty part off the slab of brownie (they can create dry bubbles in your pops). Then cut the slab into 1 inch to 1½ inch squares. You now have brownies!

Shape the bonbons :
Brush off excess crusty bits from the top of the brownies and roll each square into a ball. Moisten your hands with a little cooking oil to prevent them from sticking to your fingers and forcing you to eat your way out of the mess. If your brownie balls are still a little warm and soft, pop them in the fridge at this point to harden them a little, but take them out within 10 to 15 minutes to prevent them from becoming too hard to work with.
Attach the sticks :
When the brownie balls are firm but not hard, insert a popsicle stick or skewer into each one (if you’re using skewers, be sure to cut the sharp end off). The stick needs to be inserted well into the ball so it doesn’t fall off when dipping it into the melted chocolate, or far worse, on the way to somebody’s mouth. Arrange on a tray with the sticks standing straight up. You can gently tap the brownie ball on a hard surface to create a slightly flat side so the brownie stands on its own with the stick standing straight up. Return the tray of bonbons to the fridge to become firm for another 10 minutes or so.

Prepare the spangles :
Line up cereal bowls of sprinkles, crushed nuts, shredded coconut, and candy pieces. Get creative with your candy coatings – anything that will stick to melted coating works.
Melt coating for dipping :
Meanwhile, melt the dipping coating in a hot water-bath, using the same method as you did to melt the unsweetened chocolate for the brownie mix.
Chocolate dip :
Pour the melted coating into a large coffee mug. The coating needs to fill the mug enough so that the brownie can be completely covered when dipped. Dip the cooled brownie bonbons in the melted coating to seal them. A little coating at the base of the stick is good! Replenish the coating in the cup with warm coating from your warm bowl on the double boiler periodically to keep the coating liquid for dipping.
Add toppings :
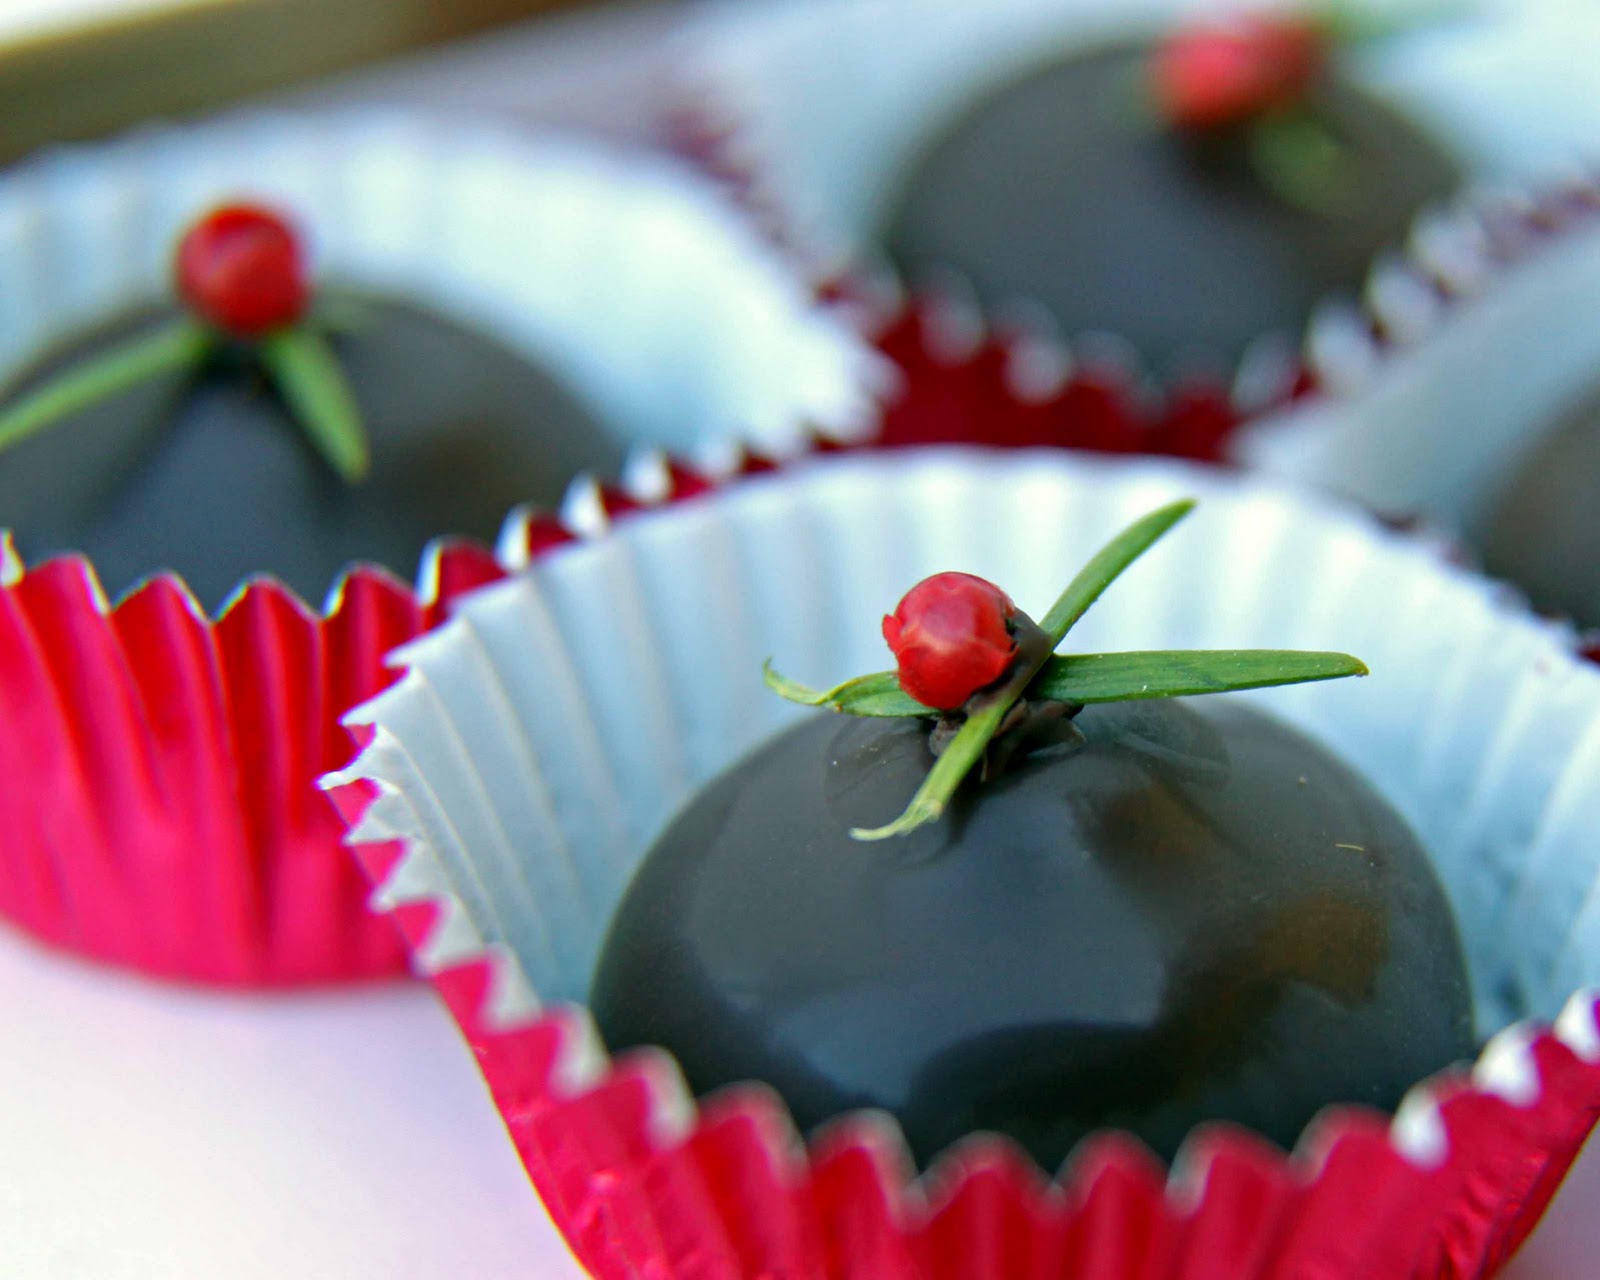
Allow the coating to set for a minute or two, then roll the pops in whatever bowl of decorations your creativity dictates. If rolling isn’t working, pick up the toppings and sprinkle them onto the bonbon by hand. It’s a good idea to use only one topping per bonbon.
Set them back on the tray and allow to cool completely. It’s that easy! If you want to get fancy, melt white coating in the same way you melted the milk coating and swizzle it over the milk coating to create patterns or streaks. Just be sure to allow the milk coating to completely harden before adding the white coating.
– Pratiksha Trivedi
12 Comments